Floor marking tape is used in a wide range of applications, including marking hazards, providing directions, identifying aisles, and many more. This tape is made with an extra-strength acrylic adhesive, making it ideal for heavy-duty use. Floor marking tape boasts superior waterproof characteristics and can stick in place for many years.
Floor marking tape is easy to apply and remove. However, someone who’s never used this type of tape may not know the right way to apply and remove it. If you apply floor marking tape the wrong way, you may not get the most out of it. Besides, it won’t last long.

How to Apply Floor Marking Tape
These are the three simple steps to follow when applying floor marking tape.
Note: You should avoid applying floor marking tape over joints and seams as it can easily loosen up.
When it comes to maintenance, you’ll want to keep an eye on stretched tape, torn or damaged edges, and adhesion issues.
It’s important to use high-quality floor marking tape to get the best results. If you’re planning to purchase floor marking tape for any purpose, you can get top-quality tape at 2S Packaging—the leading tape supplier in Malaysia.

How to Remove Floor Marking Tape
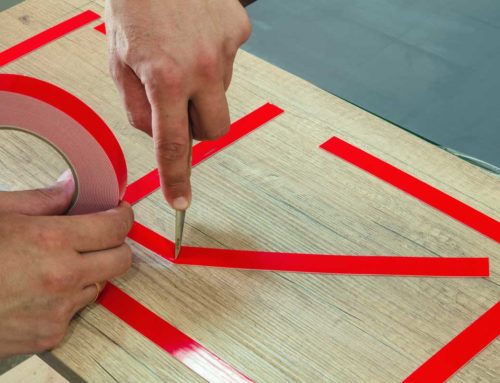
Step 1: Use a knife to lift the edge of the floor tape. Do it gently to avoid causing damage to the floor.
Step 2: Pull the tape at a 90-degree angle to break the bond and remove the tape with ease.
Step 3: If there are any leftover pieces on the floor, press scrap tape on those pieces, apply pressure, and pull them out.
Removing floor marking tape is that simple.
If you’re looking to buy high-quality floor marking tape, 2S Packaging provides a wide range of tapes and packaging products. Some of the products available at 2S Packaging include masking tape, OPP tapes, tape dispensers, floor marketing tape, hook and loop tapes, and many more.

Leave A Comment